Imagine a world where your creative ideas can come to life with the help of artificial intelligence. A world where you can generate stunning, custom images from simple text prompts. Welcome to MidJourney – a platform that’s revolutionising the way we create and collaborate.
MidJourney is more than just a tool; it’s a vibrant community of creators, a playground for your imagination, and a launchpad for your ideas. In this digital age, having a platform that harnesses the power of AI to help you create is not just convenient, it’s transformative. Whether you’re a writer, a designer, a marketer, or simply a dreamer, MidJourney is your ticket to a world of endless possibilities.
Midjourney has 14.5 million registered members. About 1.1 million (7.5%) of those members are online and active at any given time. ( https://approachableai.com/midjourney-statistics/ )
In this comprehensive getting-started guide, we’re going to demystify MidJourney for you. We’ll walk you through the process from setting up your account to creating your first AI-generated image, and much more. By the end of this article, you’ll be well on your way to becoming a MidJourney maestro!
Alright, you’re all set to embark on your MidJourney adventure, and the first step is setting up your MidJourney account on Discord. Don’t worry, it’s as easy as pie, and we’re here to guide you through every step of the way. So, let’s get started!
Step 1: Create a Discord Account
ChatGPT works best when
given clear and concise instructions. When you’re making a request, try to be
as specific as possible about what you want. Providing detailed context,
examples, or guidelines can help ensure that the AI assistant delivers the most
accurate and relevant response to your request. By being precise in your
instructions, you increase the likelihood of receiving the information or
content that meets your needs and expectations.
Before we dive into the world of MidJourney, it’s important to understand that MidJourney operates within Discord. If you’re not familiar with Discord, it’s a communication platform originally designed for gamers, but it has evolved to host a variety of communities, including MidJourney.
Why does MidJourney exist inside Discord, you ask? Well, Discord’s robust and flexible platform allows MidJourney to provide a real-time, interactive experience for its users. It enables users to share their creations, ask for feedback, and learn from each other in a dynamic, community-driven environment.
Now, if you’re not already on Discord, you’ll need to create an account. Here’s how:
Visit the Discord website: Navigate to the Discord homepage in your web browser. You’ll find it at discord.com. Register for an account: On the Discord homepage, you’ll see a ‘Register’ button. Click on this to start the registration process.
Fill in your details: You’ll need to provide an email address, create a username, and choose a strong password. Make sure your password is unique and not easily guessable to ensure the security of your account.
Verify your account: After you’ve filled in your details, Discord will send a verification email to the address you provided. Click on the link in this email to verify your account. This step is important as it helps to protect your account and ensure that you can recover it if you ever forget your password.
And voila! You’re now a member of the Discord community. With your Discord account set up, you’re one step closer to starting your MidJourney adventure. So, let’s move on to the next step: subscribing to a MidJourney plan.
Step 2: Subscribe to a MidJourney Plan
Now that you’re part of the Discord community, the next step is to subscribe to a MidJourney plan. This subscription is your ticket to the world of image creation with MidJourney.
To get started, navigate to MidJourney.com/account. Here, you’ll need to sign in using your newly created Discord account. Once you’re signed in, you’ll be presented with a variety of subscription plans.
MidJourney offers several plans to cater to different needs. Whether you’re a casual user just dipping your toes into the world of image creation, or a seasoned pro looking for more advanced features, there’s a plan for you. Each plan comes with its own set of features and benefits, so take a moment to review them and choose the one that suits your needs best.
If you’re just starting out, we recommend going for the basic plan. This will give you access to the core features of MidJourney, allowing you to get a feel for the platform. Remember, you can always upgrade your plan later if you find that you need more advanced features.
One of the great things about MidJourney is its flexibility. You can cancel your subscription at any time if you decide that it’s not for you. But we’re confident that once you start creating with MidJourney, you’ll be hooked!
So, go ahead and choose your plan. Once you’ve subscribed, you’re ready to move on to the next step: joining the MidJourney server on Discord.
Step 3: Join the MidJourney Server on Discord
Now that you have a MidJourney account, it’s time to join the MidJourney server on Discord. To do this, return to Discord and press the ‘+’ at the bottom of the server list on the left-hand sidebar of your Discord interface. Click on the ‘Join a Server’ button and paste or type http://discord.gg/midjourney. Voila! You’re now part of the MidJourney server.
Once you’re on the MidJourney server, you can start creating images. To do this, select any general-# or newbie-# channel visible in the left sidebar.
Now that you’re all set up on the MidJourney server, it’s time to dive into the magic of creating with the /imagine command. This command is your key to unlocking the power of MidJourney, allowing you to generate unique images from simple text prompts. So, let’s get to it!
57% of Midjourney users indicated zero technical coding knowledge, which speaks to the accessibility of Midjourney. ( https://approachableai.com/midjourney-statistics/ )
The Magic Wand: An Introduction to the /imagine Command
The /imagine command is the primary command you’ll use on MidJourney. It generates a unique image based on a short text description, known as a prompt. Think of it as your magic spell, transforming your words into visual art. It’s the key to unlocking the creative potential of MidJourney, allowing you to bring your ideas to life in a visual form.
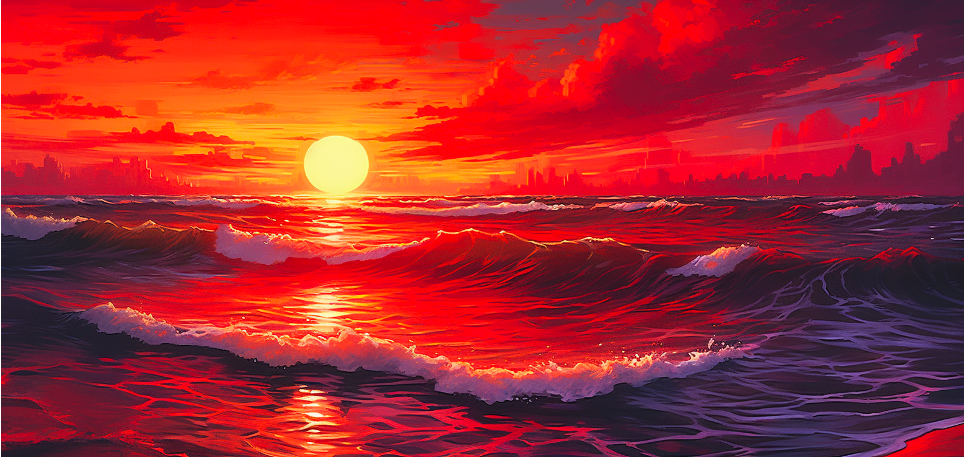
Using the /imagine command is as simple as typing “/imagine” followed by your prompt. For example, if you want to create an image of a serene beach at sunset, you would type “/imagine a serene beach at sunset”. Once you’ve typed your command and prompt, hit ‘Enter’, and the MidJourney Bot will get to work creating your image.
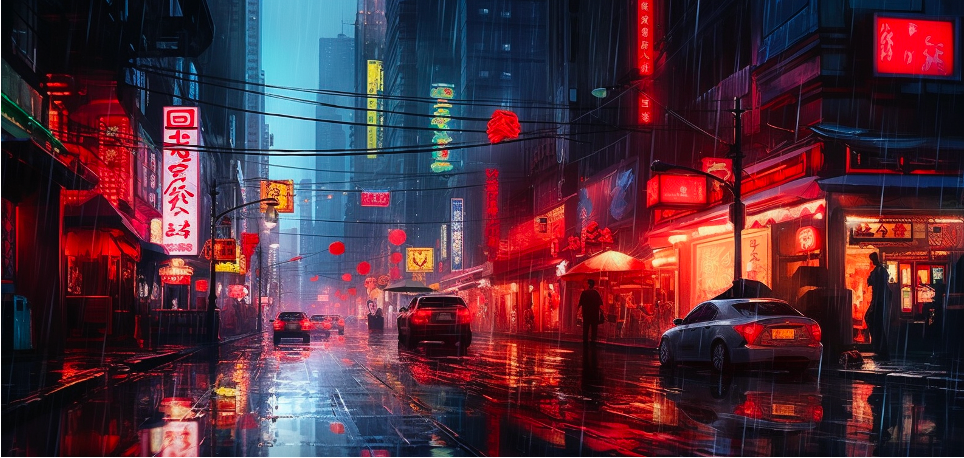
But the /imagine command is not limited to simple descriptions. You can also use it to create more complex scenes. For instance, “/imagine a bustling cityscape at night with neon lights reflecting off wet streets” would generate an image of a vibrant urban scene.
You can also use the /imagine command to experiment with different artistic styles. For example, “/imagine a serene beach with bright red sunset, drawn in the style of an impressionist painting” would generate an image that looks like it was painted by Monet or Renoir.
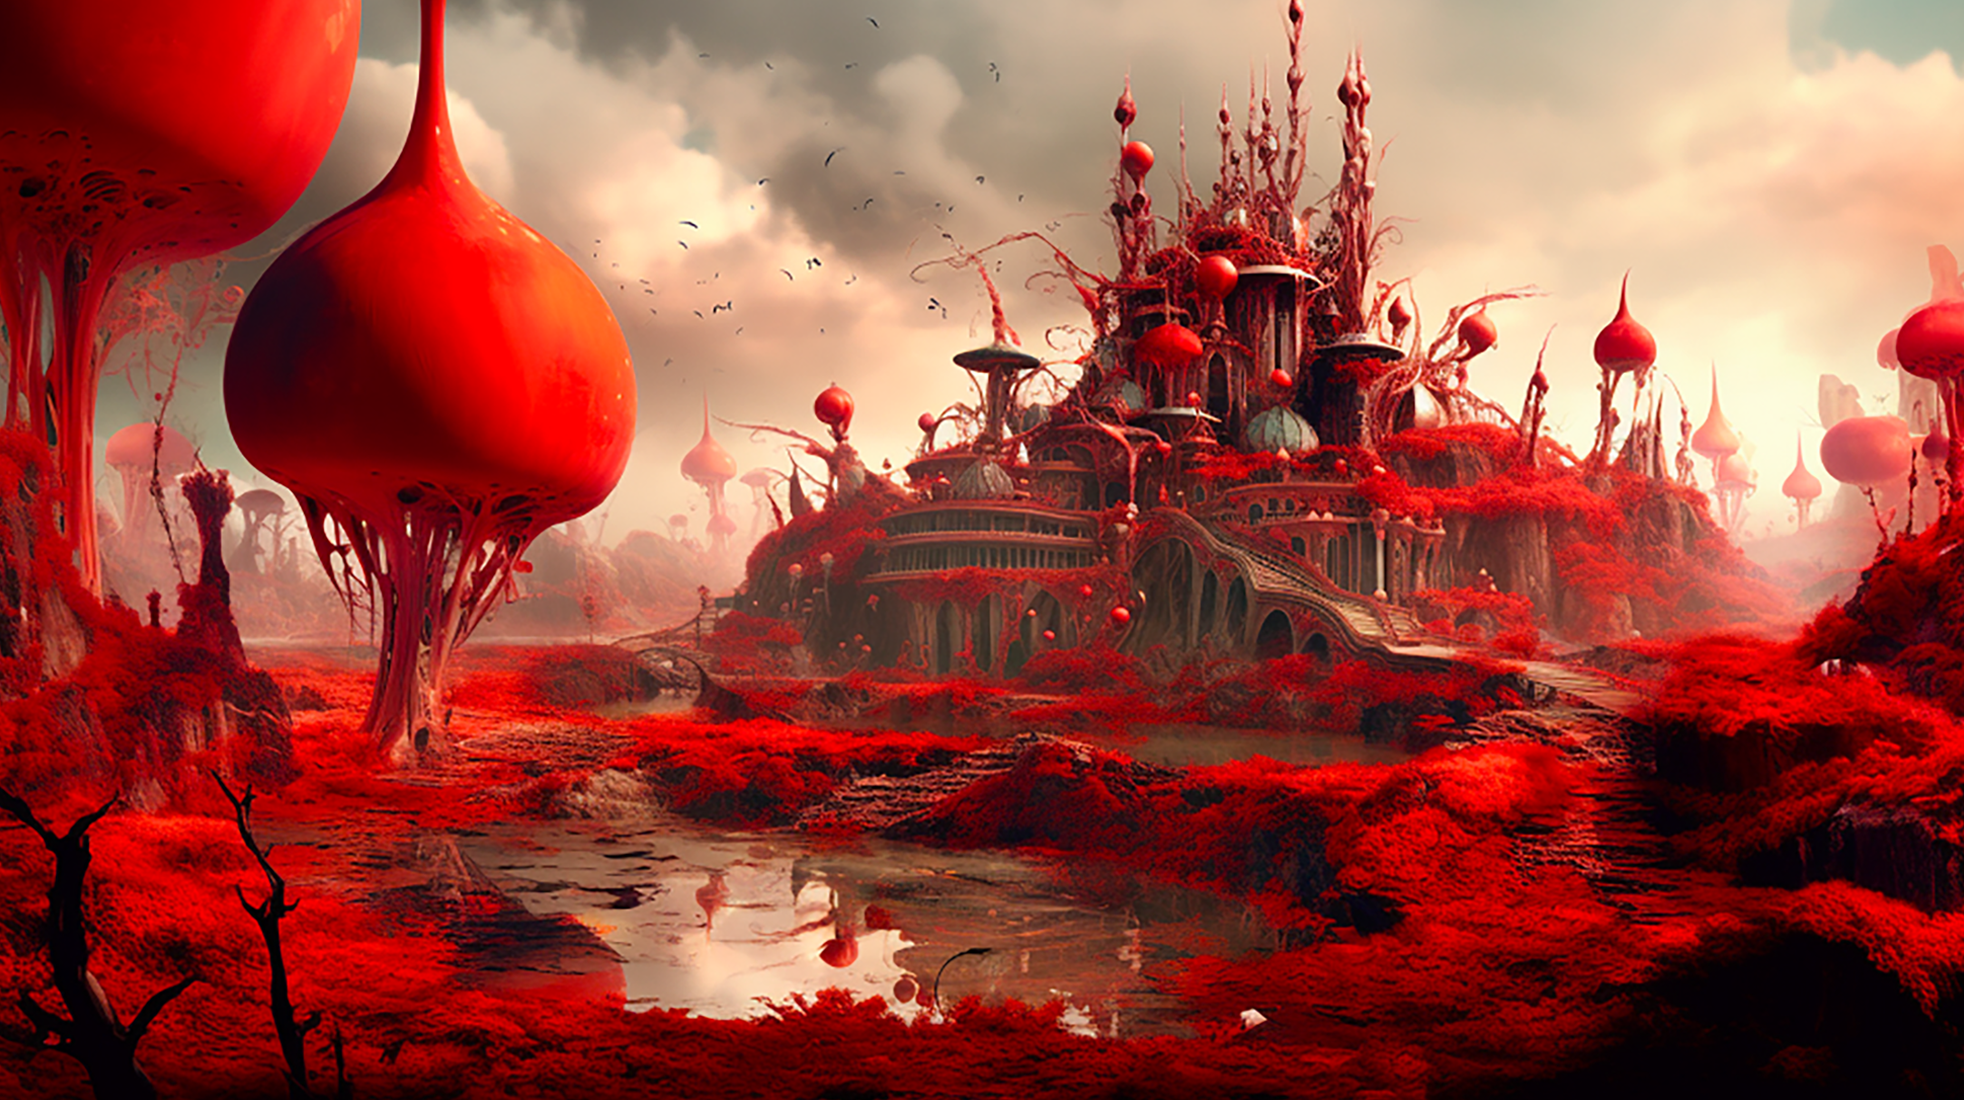
The /imagine command can even handle abstract concepts. For instance, “/imagine the feeling of peace and tranquillity” might generate an image of a calm lake surrounded by misty mountains. The possibilities are endless with the /imagine command. It’s a tool for your creativity, allowing you to explore a myriad of scenes, styles, and concepts. So, go ahead and let your imagination run wild!
Writing Effective Prompts
Create a detailed outline of how the time-traveling detective navigates through different historical settings to uncover the truth behind these mysteries and the challenges faced along the way. Conclude the story with a satisfying resolution that ties all the plot points together, leaving the reader captivated and eager for more adventures.
The key to getting the most out of the /imagine command is writing effective prompts. Here are a few tips to help you craft prompts that will generate the best possible images:
Keep it Simple:
The MidJourney Bot works best with simple, short sentences that describe what you want to see.
Be Specific:
While the bot does well with simple prompts, being specific about what you want can help generate more accurate images. For example, instead of “a dog”, try “a golden retriever playing fetch in a park”.
Avoid Negatives:
Try to describe what you want, not what you don’t want. For example, instead of “a party without balloons”, try “a party with streamers and confetti”.
Experiment:
Don’t be afraid to play around with different prompts. The more you experiment, the better you’ll get at writing prompts that produce the images you want.
Now that you’re familiar with the /imagine command, you’re ready to start creating! But the journey doesn’t stop here. As we move forward, we’re going to delve into understanding and using the MidJourney Bot’s responses. This is where the magic really happens, as you’ll see your prompts transformed into visual art. Understanding these responses will help you refine your images and get the most out of your MidJourney experience. So, let’s keep this creative journey going and explore how to interpret and use these responses to create your masterpiece!
Refine and Save Your Images
When you use the /imagine command, the MidJourney Bot generates a grid of four low-resolution image options based on your prompt. Each image in the grid is a unique interpretation of your prompt, giving you a variety of options to choose from. Take a moment to review each image and see which one aligns best with your vision.
Upscaling an Image
Once you’ve chosen an image from the grid, you can upscale it to generate a larger version with more details. To do this, simply click on the corresponding ‘U’ button under the image grid (U1 for the first image, U2 for the second, and so on). The MidJourney Bot will then generate a larger, more detailed version of your chosen image.
Creating Variations
If you like an image but want to see slight variations, you can use the ‘V’ buttons under the image grid. Clicking on a ‘V’ button will generate a new image grid with variations of your chosen image. This is a great way to explore different interpretations of your prompt.
Saving Your Image
Once you’re happy with an image, you can save it to your device. Simply click on the image to open it to full size, and then right-click and choose ‘Save image’. On mobile, long-tap the image and then tap the download icon in the top right corner. All images are immediately available to view on midjourney.com/app.
Now that you’ve mastered the basics of MidJourney, it’s time to take your creativity to the next level with some advanced features and commands. These tools will give you even more control over your creations, allowing you to fine-tune your images and bring your most ambitious visions to life. So, let’s dive in!
Advanced Image Prompts
One of the most powerful features of MidJourney is the ability to use image prompts. These are images that you can add to your prompt to influence the style and content of the finished result.
To use an image prompt, simply add the URL of the image at the beginning of your prompt. For example, if you want to create an image in the style of Van Gogh’s Starry Night, you could use an image prompt like this: “/imagine [URL of Starry Night image] a city skyline at night”.
Parameters
Parameters are another advanced feature that can change how an image generates. These can change aspect ratios, models, upscalers, and lots more. Parameters go at the end of the prompt. For example, if you want to create a square image, you could use the –square parameter like this: “/imagine a peaceful forest —square”.
The /blend Command
The /blend command is another advanced tool that allows you to blend your own images together. This is a great way to create unique, personalised art. To use the /blend command, simply type “/blend” followed by the URLs of the images you want to blend.
These are just a few of the advanced features and commands available on MidJourney.
Experiment with them, play around and see what amazing creations you can come up with.
But remember, MidJourney isn’t just about creating images – it’s also about being part of a community. In the next section, we’ll talk about how to engage with the MidJourney community, share your creations, and learn from other users. So, stay tuned, and let’s continue this creative journey together!
You’ve learned how to set up your MidJourney account, use the /imagine command, interpret the MidJourney Bot’s responses, and even use some advanced features and commands. Now, it’s time to take the next step in your MidJourney adventure: engaging with the community!
Interacting with Other Users
The MidJourney Discord server is a bustling hub of creativity, with users from all over the world sharing their creations, offering feedback, and providing support. Don’t be shy – feel free to share your images, ask for feedback, or simply chat with other users. Remember, the MidJourney community is supportive and encouraging, so don’t be afraid to share your work, no matter your skill level.
Participating in the Daily Theme Channel
One of the highlights of the MidJourney Discord server is the daily theme channel. Each day, a new theme is announced, and users are encouraged to create images based on that theme. Participating in the daily theme channel is a great way to challenge yourself, get inspired, and see how other users interpret the same theme.
Using the /ask and /help Commands
If you ever need help or have questions, the /ask and /help commands are your best friends. The /ask command allows you to get an answer to a question, while the /help command shows helpful basic information and tips about the MidJourney Bot. Don’t hesitate to use these commands whenever you need assistance.
Engaging with the MidJourney community is one of the most rewarding aspects of using MidJourney. Not only will you learn from other users and improve your own skills, but you’ll also be part of a global community of creatives who share your passion for creating unique, personalised art.
Final Thoughts
And there you have it – your quick beginner’s guide to MidJourney! We’ve covered a lot of ground, from setting up your account and using the /imagine command, to understanding the MidJourney Bot’s responses and engaging with the community. But remember, this is just the beginning of your journey.
MidJourney is more than just a tool – it’s a platform for creativity, a community of artists, and a space where you can bring your wildest imaginations to life. Whether you’re a seasoned artist or a complete beginner, MidJourney offers a unique opportunity to explore your creativity and create stunning, personalised art.
As you embark on your MidJourney adventure, don’t be afraid to experiment, make mistakes, and try new things. Use the /imagine command to create images from your prompts, play around with advanced features and commands, and don’t forget to engage with the community. Share your creations, ask for feedback, and learn from other users. The MidJourney community is supportive and encouraging, and you’ll find plenty of inspiration and support along the way.
Finally, remember to have fun! MidJourney is all about enjoying the process of creation, exploring your creativity, and seeing where your imagination can take you. So, go ahead – log in to your Discord account, join the MidJourney server, and start your own creative journey. We can’t wait to see what you’ll create!
Happy journeying!